 |
| women in traje selling flowers on the stairs of san tomas church in chichicastenango |
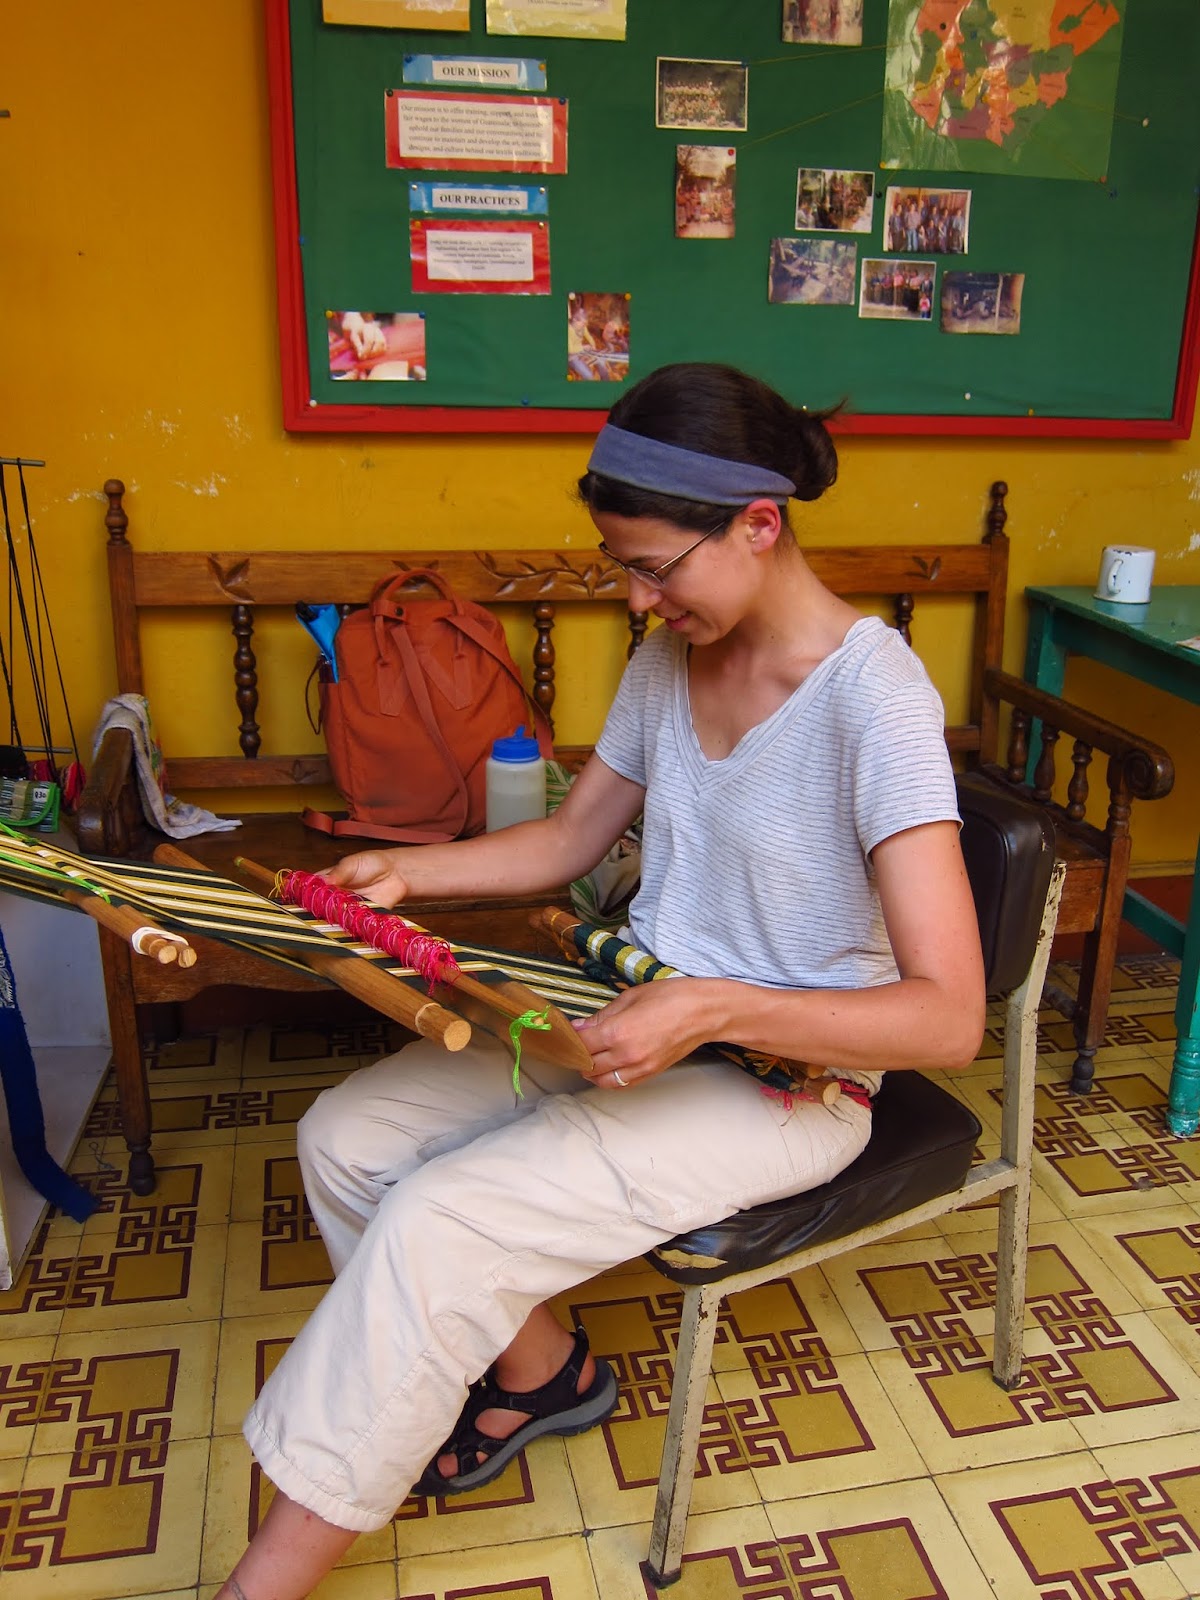
I love traveling because I love learning/ experiencing/ appreciating things that I can't really learn/ experience/ appreciate at home. One of the things I wanted to do in Guatemala was learn how women make these beautiful textiles. I hooked up with Trama Textiles, a cooperative of women tejedores (weavers) in Xela for a 10-hour crash course in using a backstrap loom for weaving.
It took about three hours of prep work before I could even start weaving, then about six hours to weave a simple six-foot scarf. And let me tell you, I am so glad that I have well-developed shoulder and back muscles from climbing big rocks, because my arms were tired by the end!
Here's how the entire process of weaving a scarf, from start to finish. If the text and pictures don't make any sense, just skip to the video at the end!
Step 1: Select your colors, one main color (green) and two contrasting colors (white and gold).


Step 6: Strap yourself into the loom by putting the belt (cintura, though I think there's another name for it) around your waist and wrapping its threads around the bottom of the loom.

Proceso uno:
Lift the laviadura, raising one half of the threads.

Insert the torpidor, an oblong piece of wood, under this half of the threads.

Pack down the threads already woven.

Rotate the torpidor, raising this half of the threads.

Pass the trama, a baton with thread wrapped around it, under this half of the threads. The thread on the baton becomes the weave threads (in contrast to the warp threads, which go lengthwise along the scarf).

Remove the torpidor.

Proceso dos
Slide together the laviadura and the pulito. This raises up the other half of the threads! Neat!

Insert the torpidor under the other half of the threads.

With the torpidor, pack down the thread that you just placed with the trama in proceso uno.

Rotate the torpidor to lift the other half of the threads.

Pass the trama under the other half of the threads.

Remove the torpidor. Start from the beginning of proceso uno again, using the laviadura to lift the first half of the threads!

If that didn't make any sense, here's what the sequence looks like when you put it all together:
Step 8: When you reach the end of the warp threads, cut the piece from the dowels and tie the lose ends in decorative knots.

All done!

No comments:
Post a Comment