This post is for my Mums, who said she is interested in making sauerkraut. We make it all the time with consistently awesome results: salty, tangy, crunchy, tasty "cooked" cabbage that tingles your tongue and makes your tummy smile. Here's how.
This entire process can be summarized as follows:
1) Shred cabbage.
2) Add salt, vigorously.
3) Let it sit.
Any time this starts to feel complicated, refer to the simple process above. Everything else is just detail. Yes, there are a lot of pictures and words in this post, but hey, it's my blog and I'll write if I want to!
Every German
hausfrau (housewife) making sauerkraut and every Korean
uhmoni (mother) making kimchi will have their own recipe. This is how I do it, but don't be afraid to experiment to find what works in
your kitchen. Fermenting food is like gardening. In our gardens, we create the conditions so veggies and flowers thrive, while weeds languish. In our kitchens, we create the conditions for certain bacteria to thrive in our food. The microbes do the cooking, not us.
Let's get started!
Ingredients
- Roughly 4 lbs of cabbage
- Roughly 2.5 tablespoons of salt
I use green cabbage, but a Korean uhmoni will use Chinese cabbage. They're both fine. I've heard that red cabbage makes amazing kraut, too.
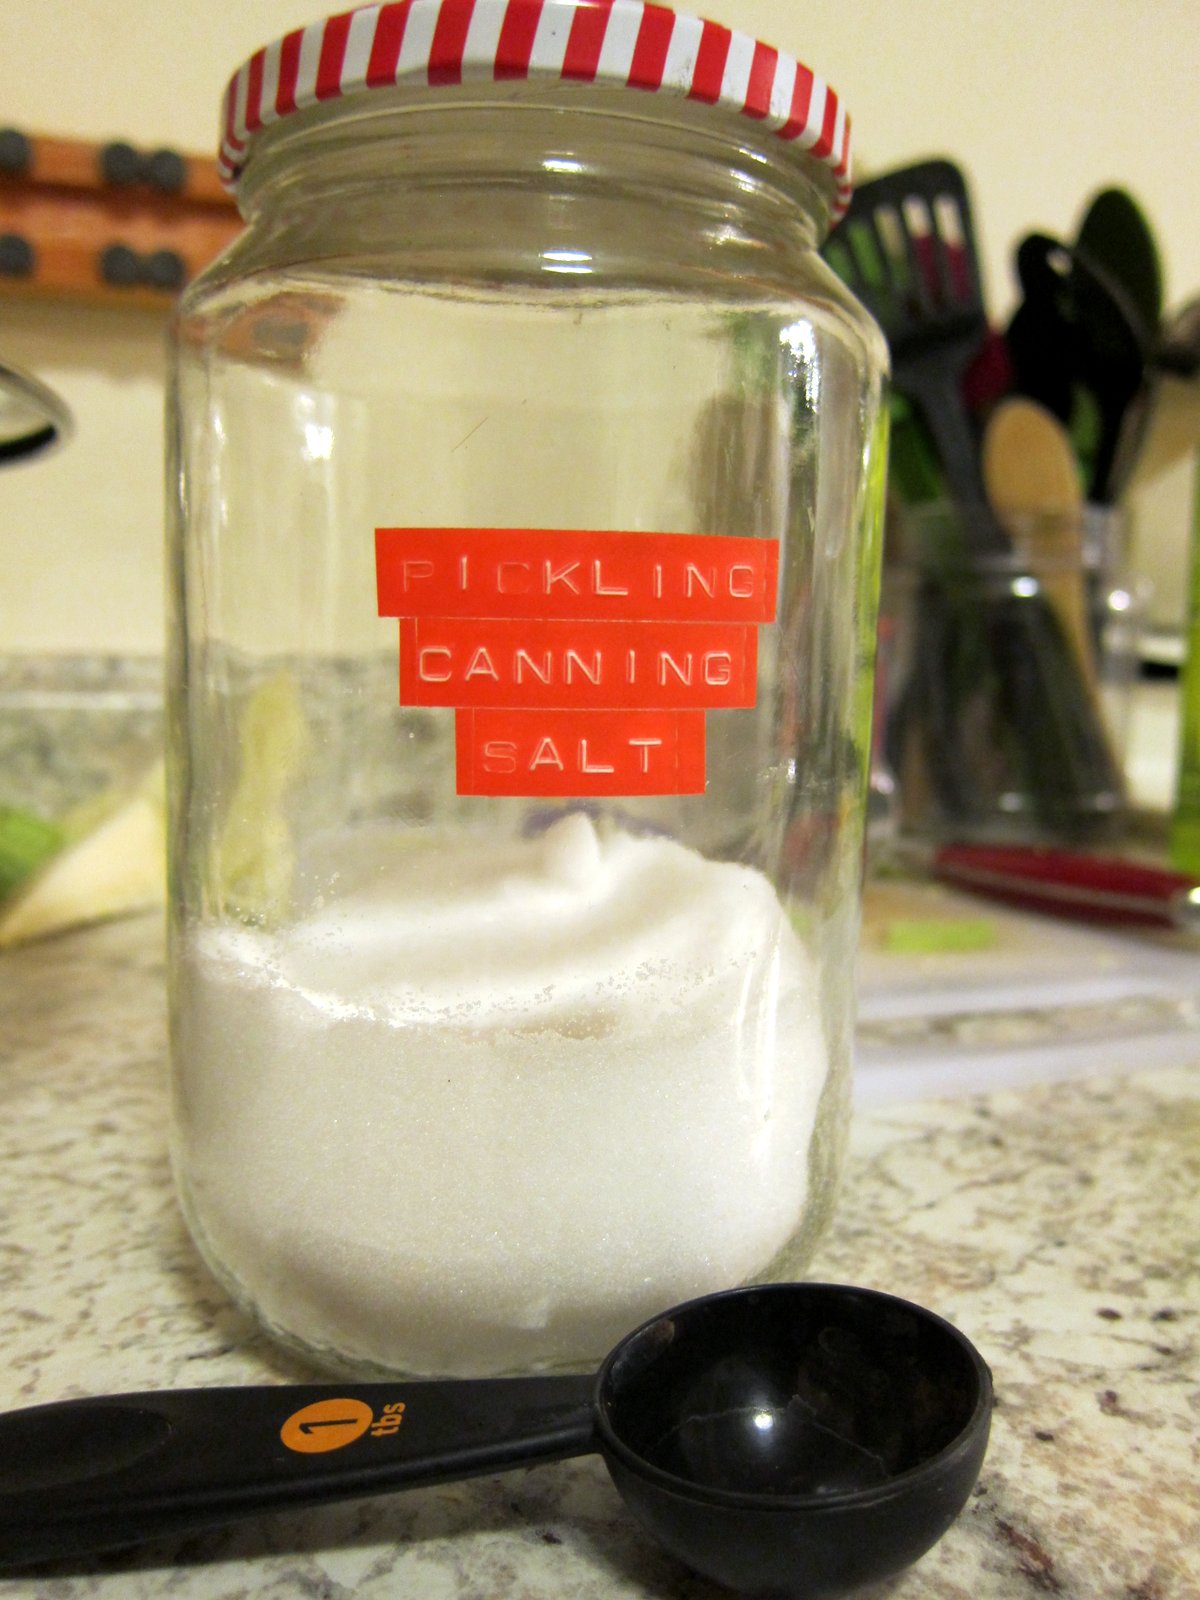
I use pickling salt, which is not iodized and does not have anti-caking agents. Regular ol' table salt works fine - no need to buy 5 lbs of canning salt.
Equipment
- A large bowl
- Cutting board
- Large knife
- 1 half-gallon mason jar
- 1 DIY airlock
The German hausfrau uses a very large mandolin in place of the knife and cutting board. Sometimes I'll use a food processor if I'm feeling lazy. More on that, plus the DIY airlock, later.
- Optional, recommended:
- Kitchen scale
- 1 canning funnel
- 1 cleaning rag and white vinegar
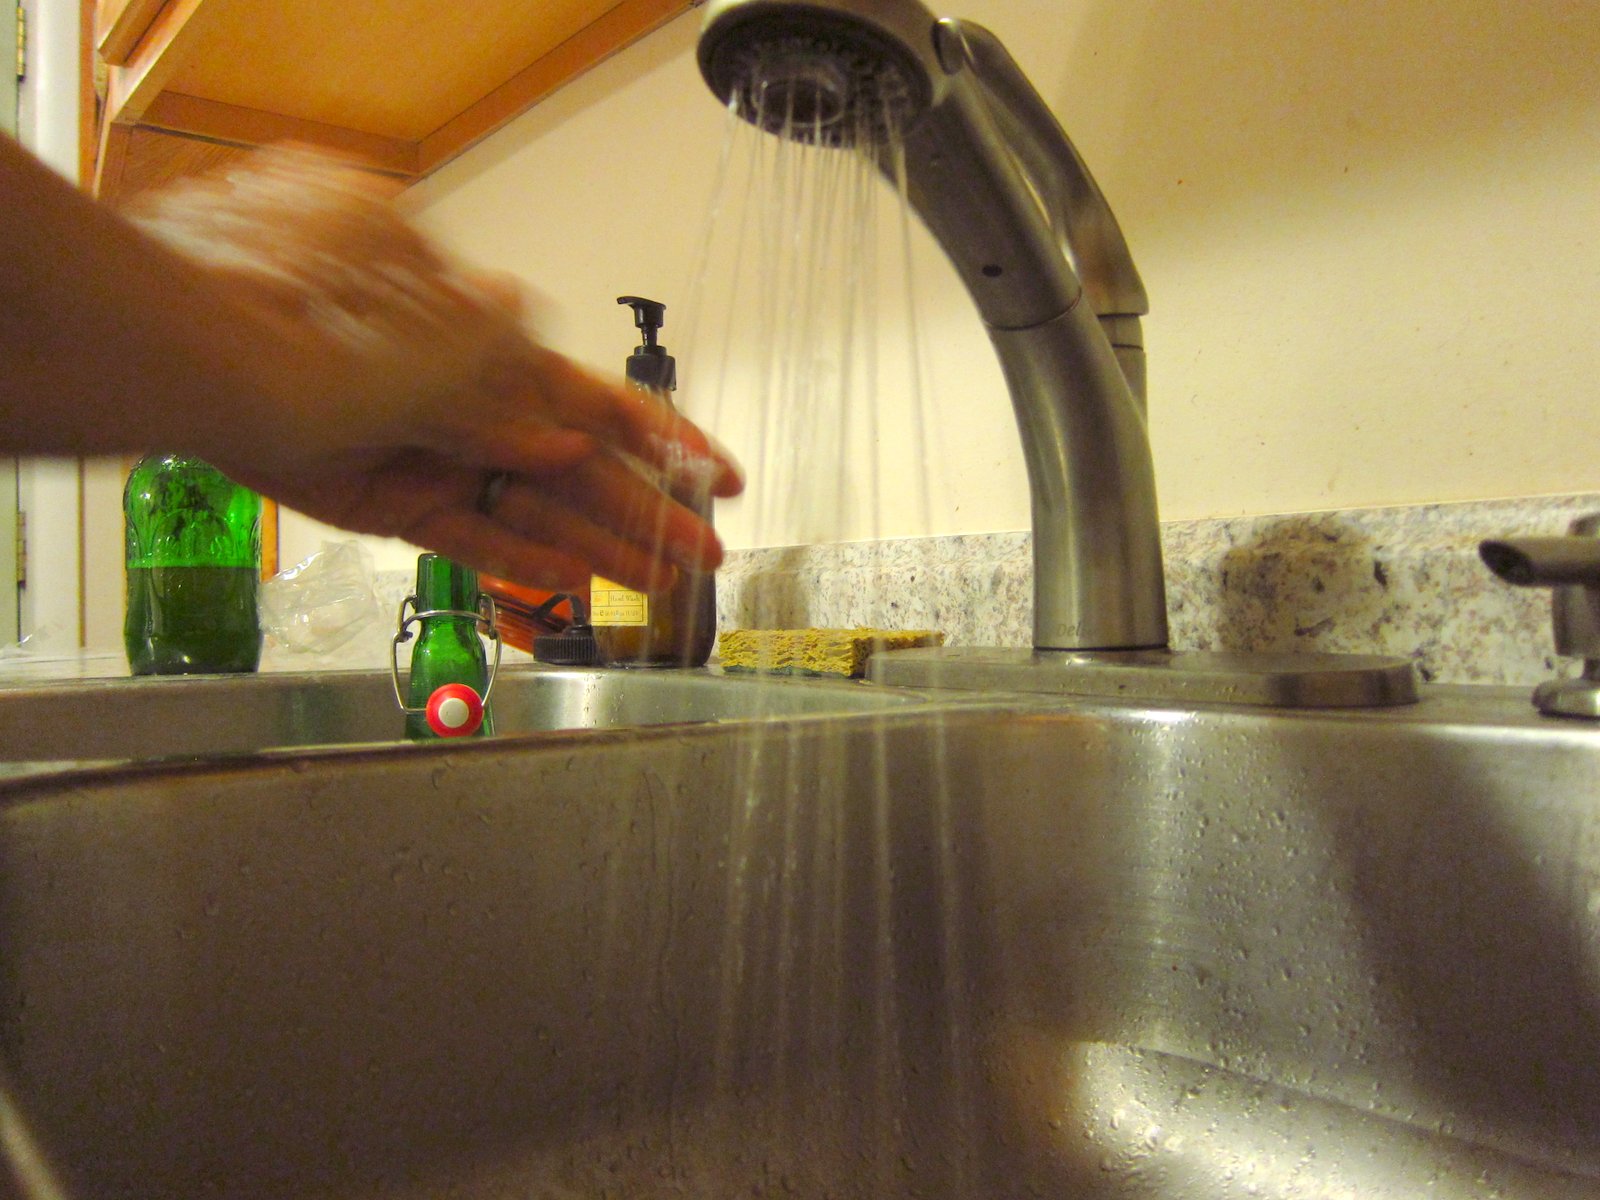
Step 1: Clean Up
Clean up to reduce the number of bacteria that might contaminate your food or compete with the microbes you're cultivating. But not too clean - no antibaterial handwash, no chemicals on the countertops.
Wash your hands.
Wipe down your counters with a vinegar/water spray.
Good enough.
Step 2: Weigh Your Cabbage & Calculate Your Salt
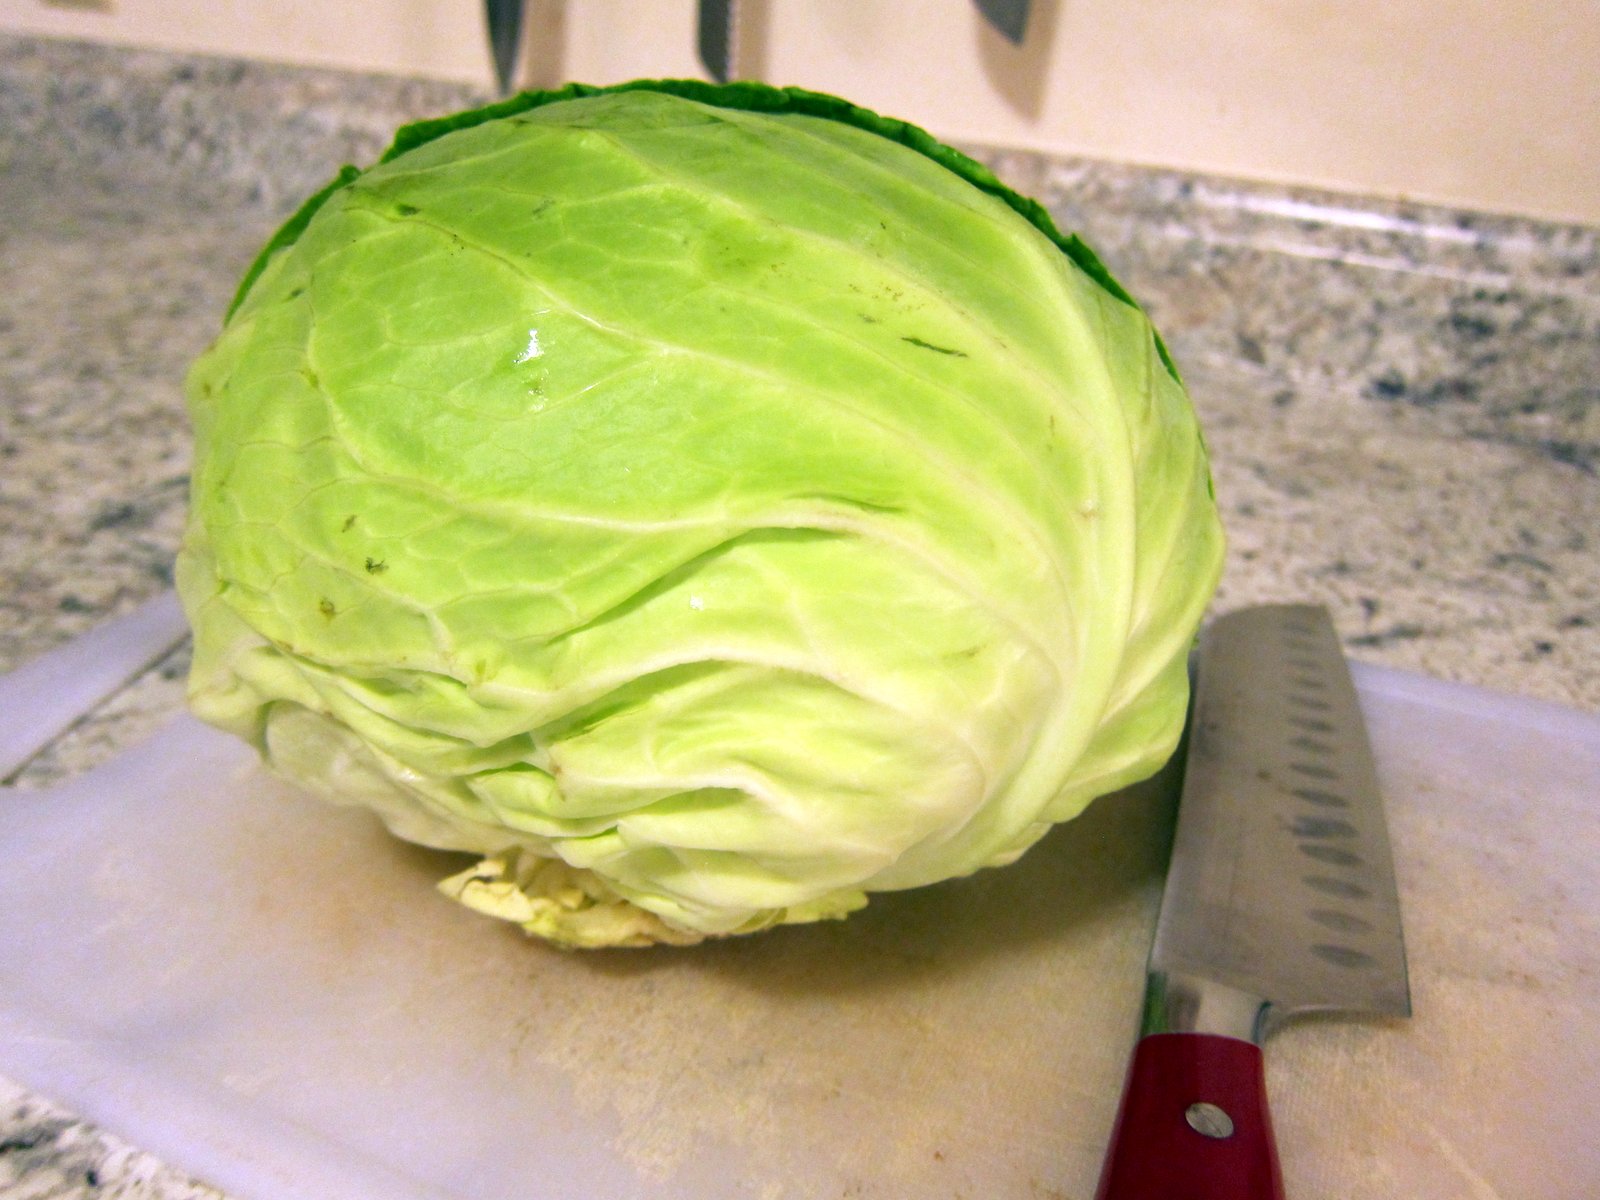
Remove the outer leaves.
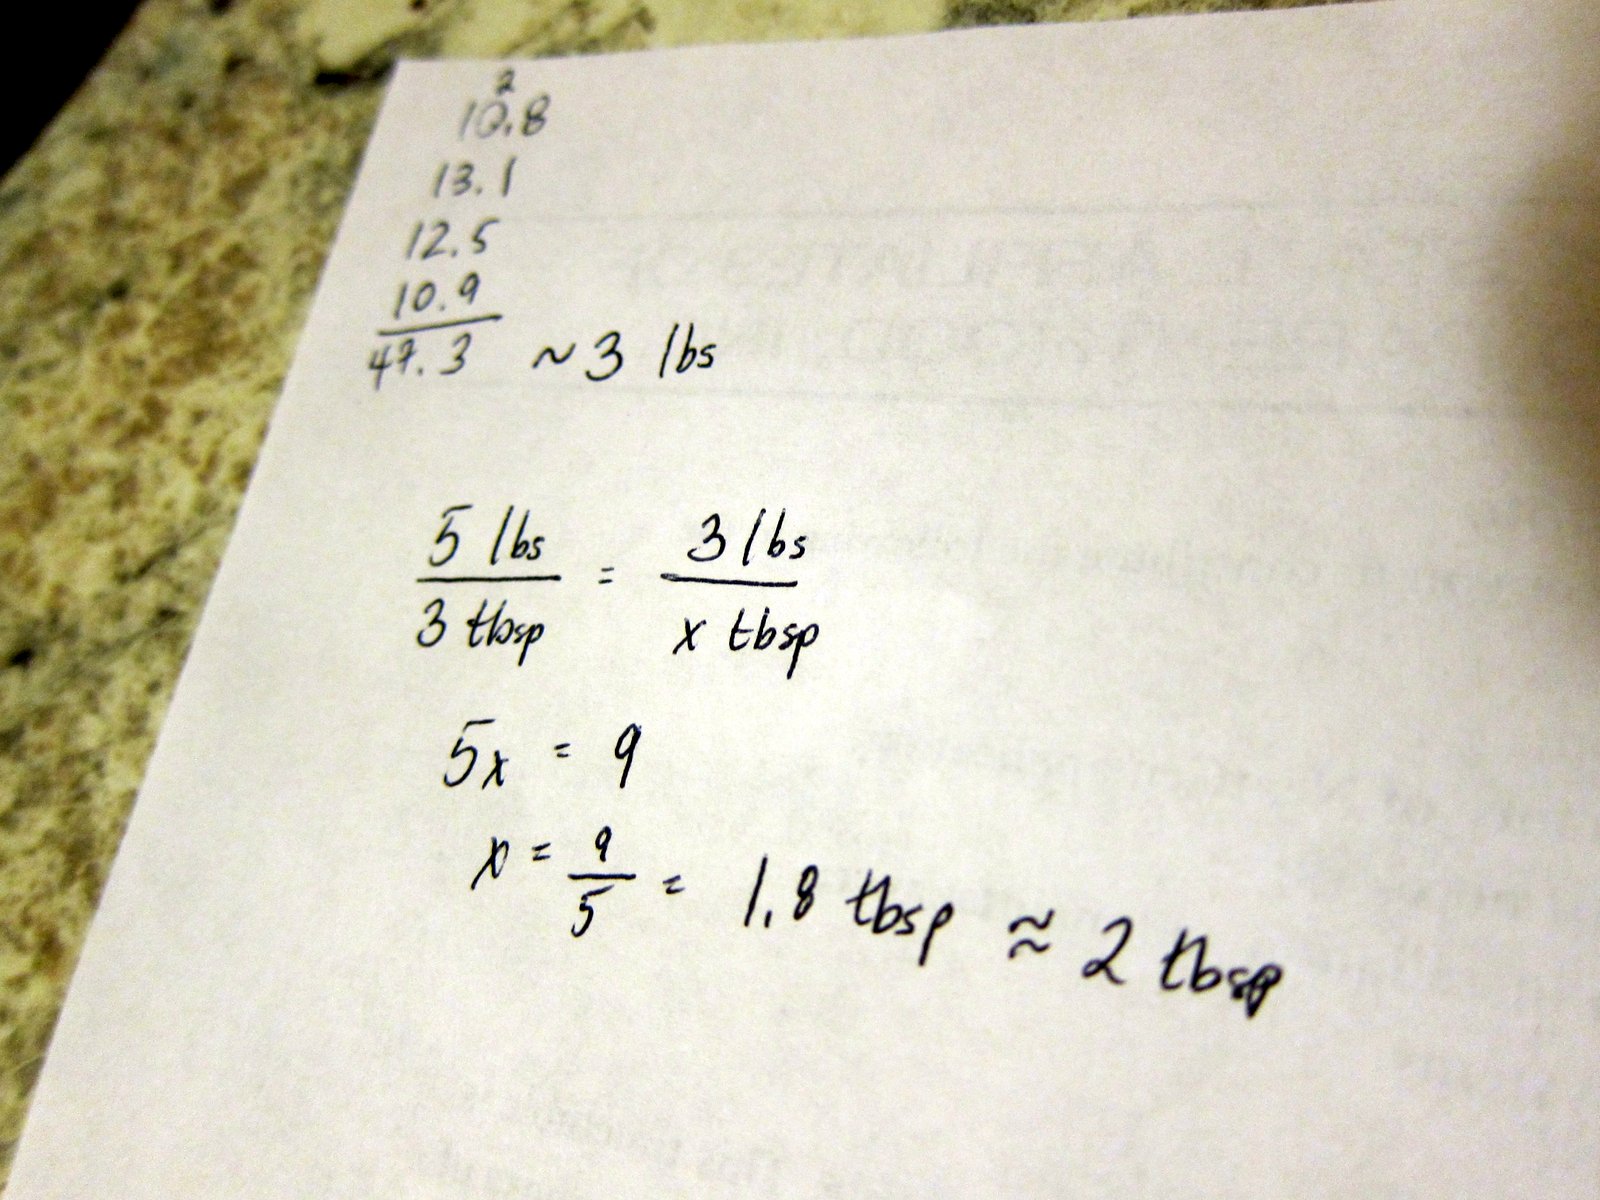
Chop into quarters and remove the core. Weigh each quarter, noting the total weight.
No kitchen scale? No problem. Weigh your cabbage at the grocery store. Write down the number. Reduce the salt in your recipe slightly, to account for the fact that you'll discard the core. Done!
I recommend using ~4 lbs of cabbage, as that amount fits perfectly in a half gallon mason jar.
Step 3: Shred, Baby, Shred
Shred your cabbage.
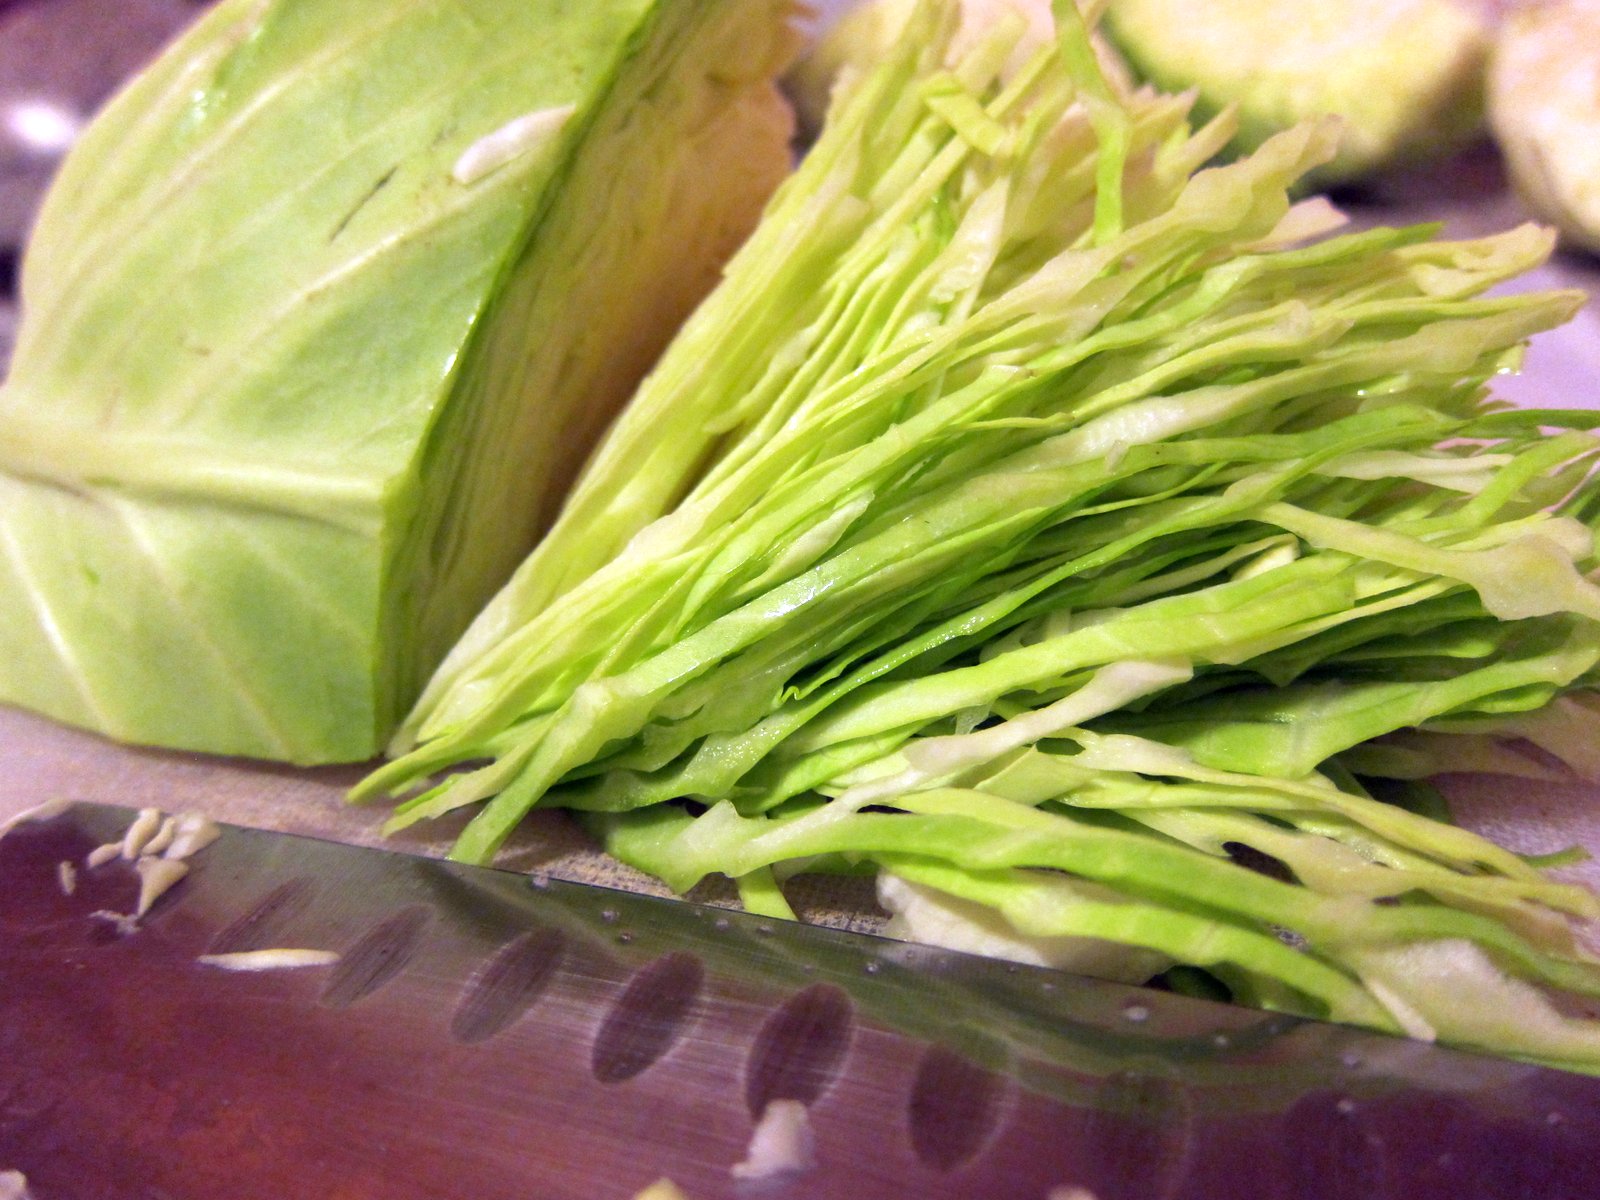
I think slicing the quarters
very very finely with a sharp knife makes sauerkraut with the best texture - nice n' crunchy.
But sometimes you get lazy and just want to finish with the food processor. Use the most coarse shredding attachment.
I like doing half-and-half. The sliced cabbage makes a great texture, and the processed cabbage makes a ton of brine. I wouldn't do it
all in the food processor, due to texture concerns.
You could also use a mandolin, or if you can find that German
hausfrau, ask to borrow her kraut board.
In the end, you'll have this:
Step 4: Salt It
Figure out how much salt you'll need based on the magical ratio of 3 tablespoons of salt for every 5 pounds of cabbage, cores removed. Use algebra or this handy dandy chart:
- 1 lb cabbage = 1/2 tablespoon plus 1/3 teaspoon salt
- 2 lb cabbage = 1 tablespoon plus 1 teaspoon salt
- 3 lb cabbage = 1 tablespoon plus 2.5 teaspoon salt
- 4 lb cabbage = 2.5 tablespoon salt
- 5 lb cabbage = 3 tablespoon salt
Don't go too crazy with exact measurements. This is art, not science.
Sprinkle the salt over the shredded cabbage.
Step 5: Punch It
Mix the salt into the cabbage, thoroughly. While you're at it, punch down the cabbage, breaking and bruising it. This releases more brine, improving the fermentation conditions, and improves texture.
As you mix and punch, your cabbage will get limp and juicy as the plant cell walls break down and the salt draws out brine. Your cabbage now looks like this:
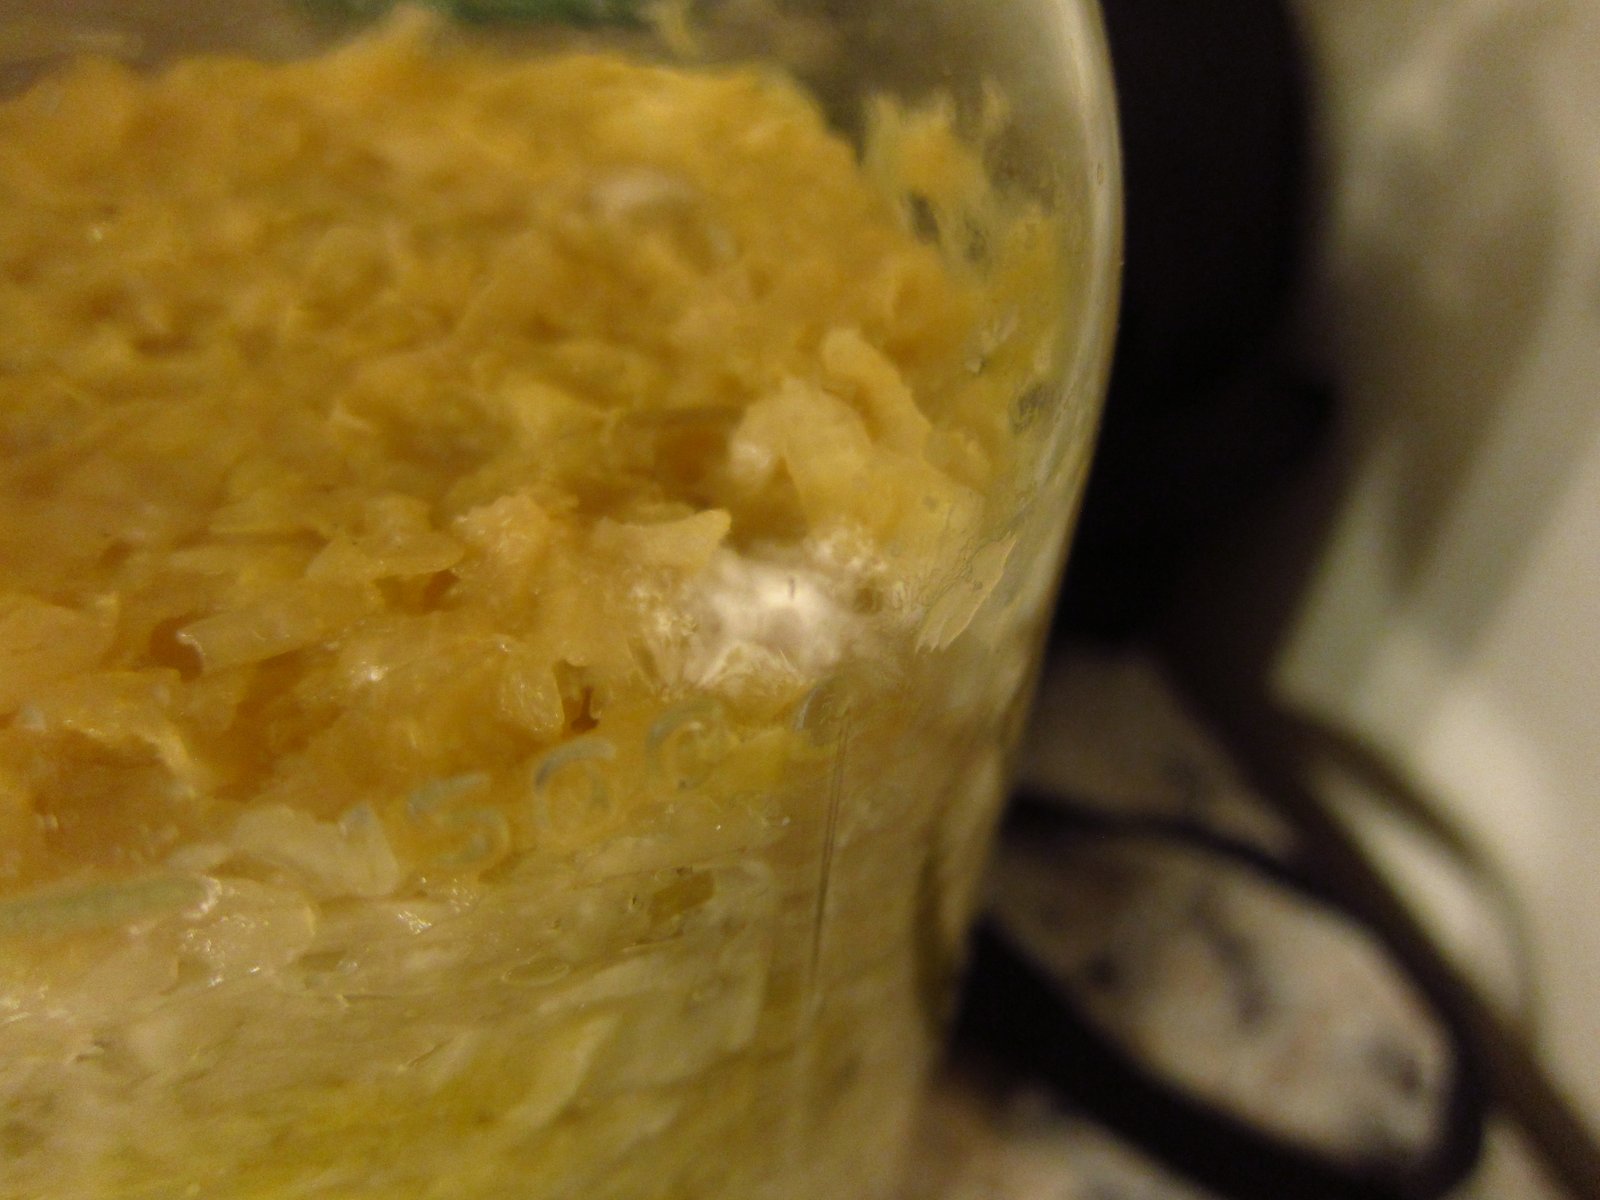
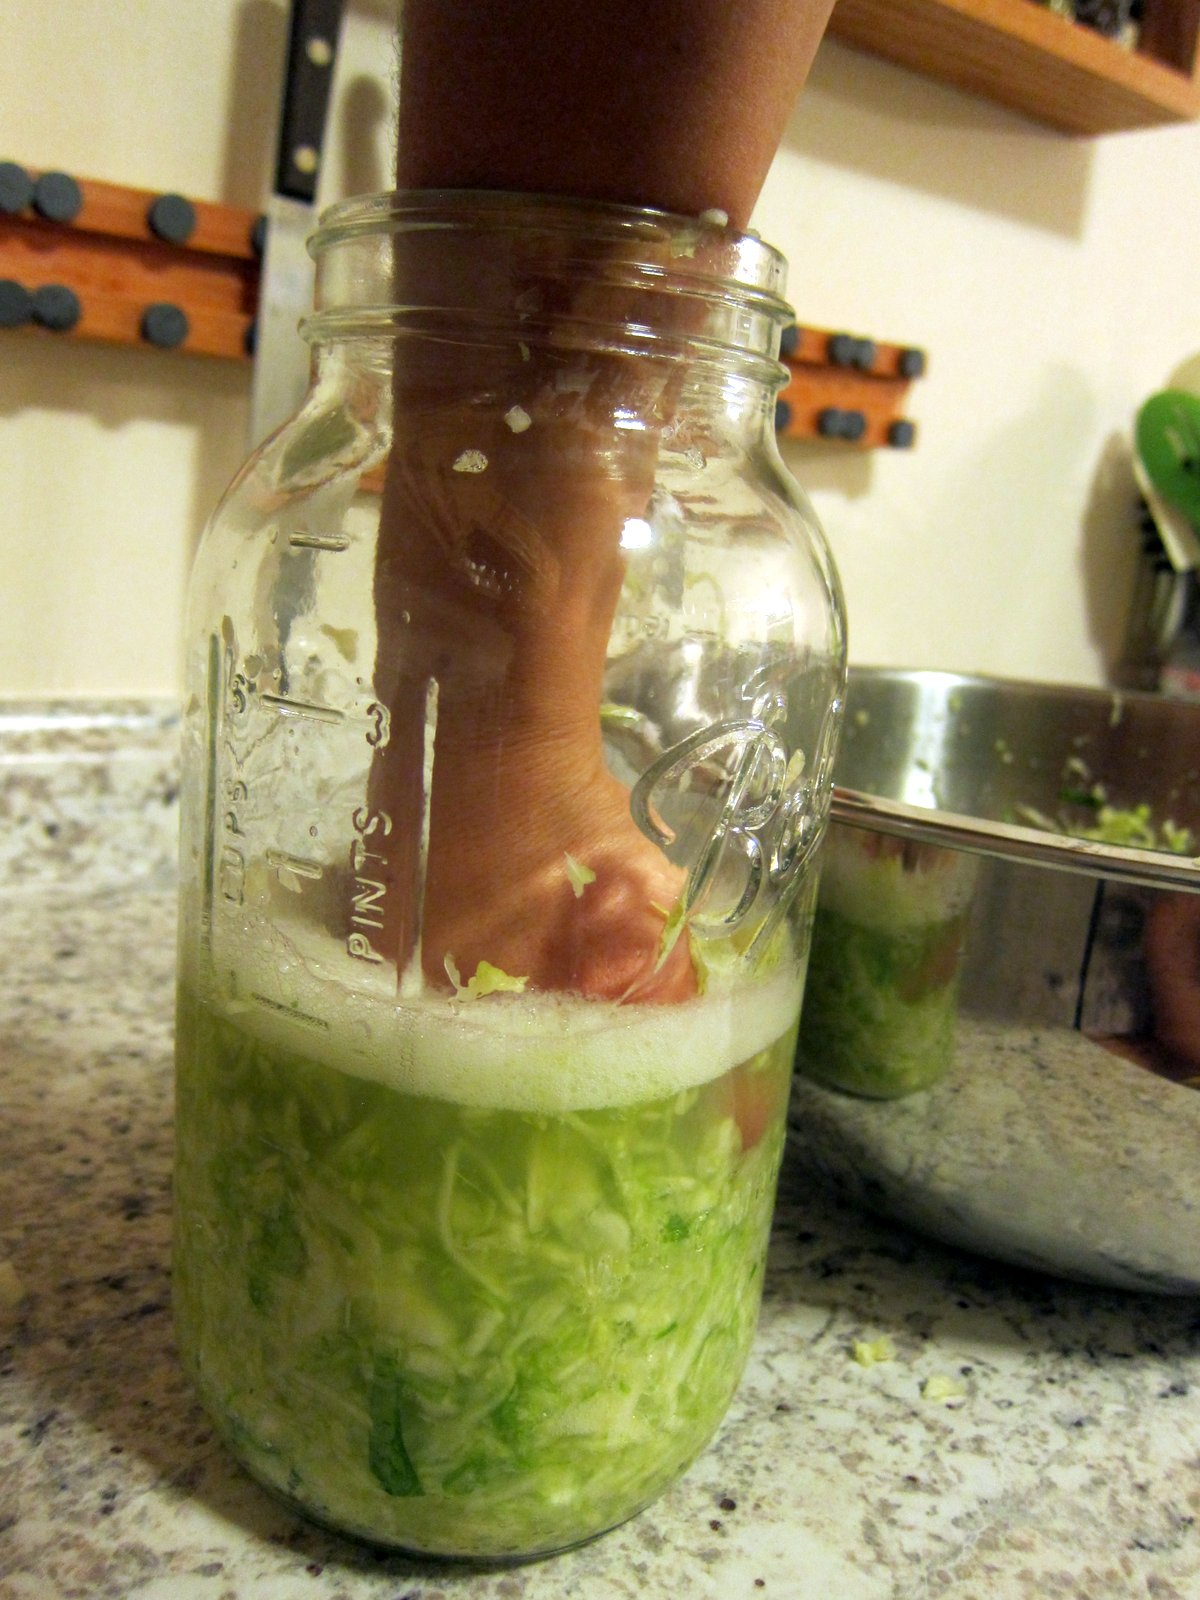
Step 6: Pack It
Use your optional canning funnel to pack the half gallon mason jar full of delicious salty cabbage.
After every few scoops, press down on the cabbage
firmly, compressing it into the bottom of the jar, below the level of the brine. Press down again and again as you pack the jar.
In the end, you should have lots of cabbage packed into the bottom of the jar, with a nice layer of salty brine floating above it.
Take your vinegar rag and wipe down the rim, neck, and outside of the jar.
Add water to the fermentation airlock, about an inch on either side of the bottom of "U" shaped trap. Screw on the airlock using a wide-mouthed canning band.
This airlock is a used wide-mouth mason jar lid, a piece of coat hanger, a small rubber stopper with a hole in it, and a short section of food-grade tubing.
- Drill a hole with a large drill bit in the mason jar lid.
- Stuff in the rubber stopper, then stuff the tube into the stopper.
- Twist the tube in a loop and secure with wire.
- Add water to half the height of the loop.
Easy DIY airlock: gas can escape the jar without letting oxygen in.
Step 7: Wait
Put the mason jar in a corner where it will sit at room temperature, undisturbed, for about a week. Thereafter, you can keep it on the counter at room temperature (faster and easier) or continue its ferment in a cooler place, like a root cellar or the door of your fridge (slower and more traditional).
And here is where the magic begins! The fermentation process produces carbon dioxide, which pushes up the column of water in the airlock until
bloop a little bubble of carbon dioxide escapes. If you don't see some blooping by day 2, your airlock probably has a leak - fix it ASAP. The
blooping peaks around day 3-4, depending on temperature, and may continue as long as day 7. By the end of the first week, your kraut will have morphed from bright green to straw yellow.
Let your kraut sit for 3 weeks. DON'T open the airlock during that time! If you do, you will destroy the oxygen-free (anaerobic) environment you painstakingly created with your airlock and will encourage the growth of the not good bacteria and molds.
Many people like to ferment their kraut at least 10-12 weeks. When Dave worked on the farm, we had some ferments go even longer, and they were delicious. Now, I usually go about 3 weeks, because the kraut looks so darn tasty sitting on my counter.
At the end of the fermentation, screw on a regular mason jar lid and store the jar in the fridge.
---
I'm going to take pictures of the jar as it ferments. Exciting! Stay tuned for Part II: How and Why This Works (With Pictures!).


.jpg)
.JPG)
.jpg)
.jpg)
.jpg)
.jpg)
.jpg)
.jpg)
.jpg)
.JPG)
.jpg)
.jpg)


.JPG)